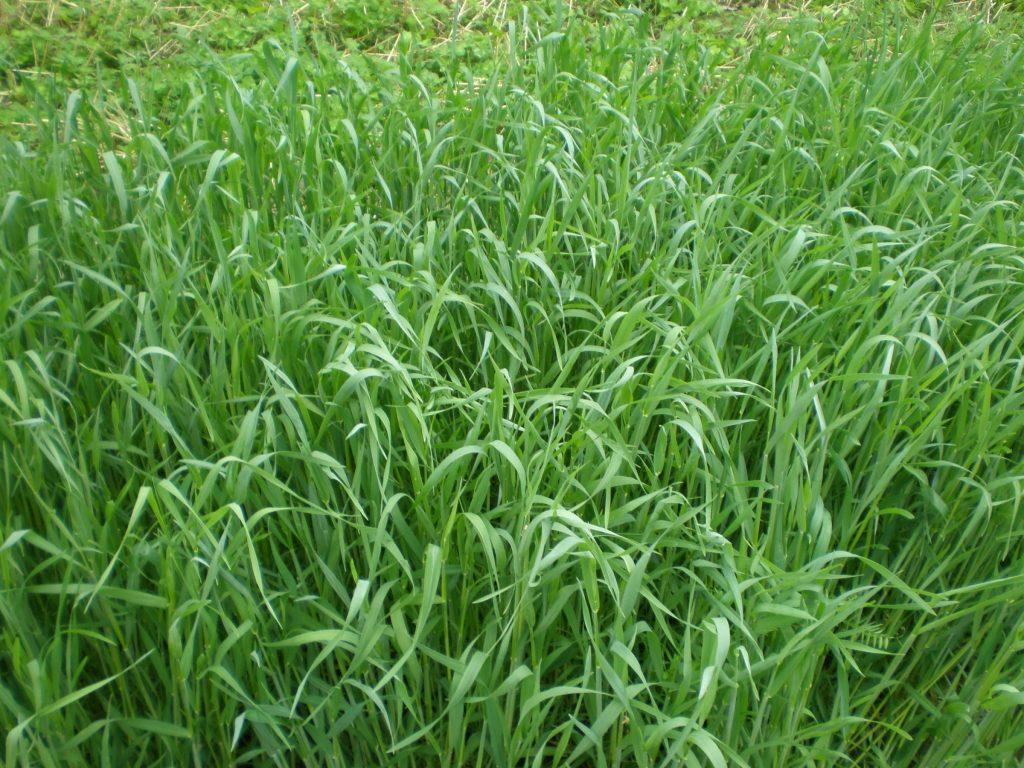
With temperatures warming as spring approaches each year, many farmers are deep in preparations for the coming season; crop planning, purchasing seed, prepping nurseries, repairing machinery and more. In the midst of this planning one might look over the farm on a sunny day, and wonder, “What am I going to do with all this over-wintered rye cover crop?”
This fact sheet is intended for use by readers looking for information on preparing the farm for spring planting and the upcoming growing season.
An important factor in preparing the farm for spring growing is knowing when and how to terminate cover crops that may have survived the winter. Additionally, when spring cover cropping is included in planning this brief guide should be useful.
Termination Methods and Timing for Winter Rye
Timing and technique are key for terminating the overwintered cover crop. If winter rye was planted last year, it may feel like time is of the essence given rapid spring growth. There may be an impact to a cash crop that takes over and outcompetes what will be planted next. The optimal time to start depends on the method used to terminate cover crop. Methods include rolling/crimping, mowing, tilling or incorporation, herbicides, or burning winter rye.
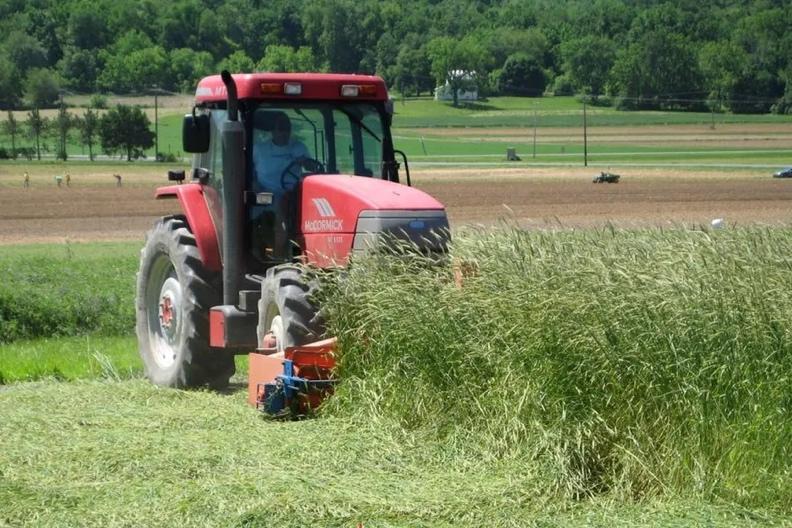
Rolling/crimping is the use of a specialized roller to flatten the cover crop at certain growth stages. This results in a mat of flattened cover crop, which eventually dies and turns into a layer of organic material on the soil surface. The roller/crimping method is gaining attention in no-till agricultural systems, as it involves little to no soil disturbance and an abundance of organic matter. It also helps growers avoid the use of herbicides in cover crop termination.
The most effective winter rye growth stage for rolling/crimping is either flowering or early milk to soft dough (Kornecki & Balkcom, 2020). The estimated planting/seeding window is three weeks post rolling/crimping. Rolling before this stage can result in the crop raising back up and shading out planted areas (Crdavids, 2022). Some farmers are exploring planting directly into crimped winter rye, using it as an organic mulch, particularly when subsequently planting tomatoes and pumpkins. This is a great option for weed control, soil cooling, building soil health, and even providing habitat for beneficial insects.
Other methods that circumvent the use of herbicides are mowing, tilling/incorporation, and burning. Burning is not as widely adopted, as it turns the soil hydrophobic and prevents rainfall from penetrating the soil. Additionally, all stored carbon is released as carbon dioxide, resulting in close to total loss of any sequestered carbon.
Mowing can be an effective means of termination, but must be done at the correct time to prevent regrowth and competition with cash crops. The cut must also be below the growing point. For winter rye, which is a grass, the growing point is below the soil surface during the vegetative state and emerges above the soil during flowering (Hill & Sprague, 2023). Thus, the proper timing for mowing is during flowering before the winter rye goes to seed. Residues from mowing can be left on the surface as a mulch or incorporated into the soil via tilling.
In tillage systems, it is very common to incorporate cover crops using tillage techniques. It is recommended to do so at or before full bloom, and to delay planting for 2 to 4 weeks after incorporation (Barbercheck & Borrelli, 2023). The use of silage tarps to cover residue can help expedite decomposition after mowing. Weighing tarps in place with sandbags is effective and can be left on fields until bed preparation takes place. This can create a less dense mulch on the surface, making it easier to plant directly into the mowed residue.
Lastly, herbicide application, particularly glyphosate, is an inexpensive and effective way to terminate cover crops. Growers can choose to terminate the crop at any time, which allows for maximum biomass to be achieved. This has many benefits, including carbon sequestration. However, this is only an option for conventional growers, and glyphosate has been shown to be neurotoxic to animals and humans (Costas-Ferreira, et al., 2022), so growers may prefer to avoid its use.
Winter rye has been known to have allelopathic effects (producing chemicals that hinder the growth of subsequent plantings). This is one reason that it is chosen for weed suppression, as its allelochemicals can prevent germination of weed seeds and hinder growth of weed plants for a few weeks after termination. However, it is plant-specific and does have the potential to affect cash crop growth. Research has shown that allelopathic impacts are based largely on seed size, resulting in smaller seeds being more affected than larger seeds. Eliminating winter rye two weeks prior to planting can help alleviate allelopathic effects (USDA, 2016).
Spring Cover Crops: The Basics
Planting spring cover crops in March or April can aid in weed control, building soil health and fertility, providing habitat for beneficial insects, and preventing soil erosion in the start of the growing season. They can be grown in areas where crops are not set to be planted until May or June. There are multiple options for spring cover crops, including mustards, spring oats, red clover, field peas, and annual ryegrass. Mixtures of cover crop seed can also be used. In that case, reduce the seeding rate of the crops being mixed. See the table below for seeding rates for each cover crop type.
| Cover Crop | Seeding Rate (lbs. per acre) |
| Field peas | 30-60 |
| Mustards | 10-20 |
| Spring Oats | 90-120 |
| Annual ryegrass | 20-30 |
| Red clover | 10-16 |
| Seeding rates sourced from G. Johnson, UDel Cooperative Extension | |
Cover crops are typically broadcast for direct sowing, and are oftentimes rolled into the soil to ensure proper soil-to-seed contact. Adequate soil moisture and exposure to sunlight are necessary for germination, so be sure to water thoroughly and choose a spot out of the shade. Germination times depend on the cover crop type and usage goals for. For example, if a quick cover for weed suppression is desired, but not necessarily nitrogen fixation, choose an oat (e.g. spring oats) over a slower-growing legume (e.g. red clover).
There are some incredibly useful tools available online to aid in cover crop planting and decision making. There is a specialized Cover Crop Species Selector, generated and hosted by Precision Sustainable Agriculture. First, choose the state, followed by field location, site conditions (drainage class and flooding frequency), goals for cover cropping in order of importance, and cash crop planting window (planting and harvest dates). The tool then generates a table of cover crops that meet the set criteria. The table also includes growing windows for the specific cover crop type.
Below is an example of a table meeting three goals: 1) Nitrogen fixation, 2) Improving Soil Organic Matter, and 3) Outcompeting Summer Annual Weeds for a local Tolland CT location. Red clover is the number one recommended option, with yellow sweetclover following as a close second. Try out this tool to see more specific results.

The USDA also has a Cover Crop Chart that details crop type, growth cycle, growing season, water usage, and plant architecture for a selection of cover crops. For example, crimson clover is indicated as an option for a legume with nitrogen fixation to smother weeds during the cooler part of the season. It is an upright-spreading annual legume with medium relative water usage.
Termination of spring-planted cover crops can be achieved by any of the methods mentioned earlier in this article. Terminate spring-planted cover crops two to three weeks prior to planting. Prepare summer planting areas as usual.